


The File History Problem: How to correctly use File History to transfer data files to a new Windows 10 installation
How can I use File History to transfer data files to a new Windows 10 installation? Is there an easy way to make sure that I don’t lose anything? One of my colleagues has asked me this question and I believe he’s not the only one who has ever faced this problem. Let’s see if we can solve it together!
Before starting, I wanted you to know
Recently I upgraded my computer from Windows 7 to Windows 10. The upgrade process was painless and everything seemed fine until I noticed that all of my old Word documents were gone. After some research, I found out that the upgrade process actually deleted all of my local data. The problem with this is that it is not mentioned anywhere in Microsoft’s documentation that they would delete your local data when you do an upgrade. In order to get my old files back, I used the ‘File History’ feature on my computer and was able to recover some of them, but not all.
Let’s get started
Now that you’ve decided on installing Windows 10, it’s time to start the process. One of the first things you’ll want to do is make sure that all of your important data is backed up.
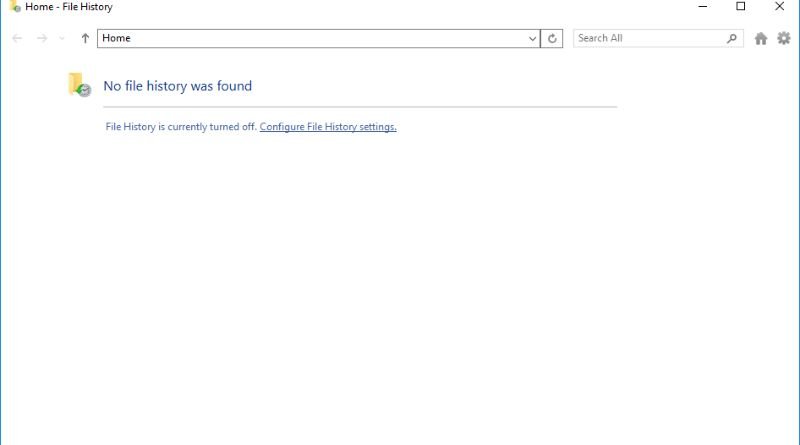
Windows 10 has a built-in backup and restoration program called File History, which can be used for this purpose. You can access the program through the Control Panel (or on the Start menu).
To configure File History, follow these steps: – Click Backup Settings in the left column. The options will appear on the right side of the screen. You’ll need to designate where you want to save your backups – either on another internal hard drive or an external one (i.e., USB flash drive or external hard drive). It’s recommended that you choose an external device if possible so as not to fill up your main storage space with data from multiple computers/devices; it also means having less downtime should something happen with your computer/device and needing immediate file recovery or restoration from a backup copy.
What did I miss?
If you have ever used File History to back up your Windows 10 machine, you are probably familiar with the time-consuming process of manually copy and pasting folders from one hard drive to another. To save time, and avoid having to copy multiple files at once, there is an easier solution! Simply follow these steps:
- Install the same version of Windows on both machines and activate it.
- Create a shared folder on one computer (e.g., C:\Shared) that can be accessed by the other computer (e.g., D:\Shared).
- Connect the two computers using ethernet cables or a wireless adapter so they can access each other.
- On both computers, click Start > Settings > Update & Security > Backup (File History in Windows 8/10) and make sure that Save copies of your backup locally is selected and Save on this device only is not selected.
- In Options, select Back up all files in this PC, then select D:\Shared.
What about my other data?
It’s not just your personal documents, either. If you’ve backed up any other types of files on your PC, like music, videos or photos, they will be stored in the same folder as your personal documents. You can choose which folders are included in file history by following the steps below:
- Click on the start button and then type ‘File History’ into the search box.
- Click on ‘Manage My Libraries’.
- Select the libraries you want to be included in file history from the list and click ‘Add’. -Repeat this process for any other libraries you want to include. You can also unselect any libraries that you don’t want included in file history by clicking them once and selecting ‘Remove’.
And what about Microsoft OneDrive?
Microsoft OneDrive is useful for storing and editing your documents, photos, and other files from any device. Microsoft OneDrive has apps available for all major platforms including iOS, Android, Mac OS X, and Windows Phone. You can also get a free storage option with Microsoft OneDrive. With the free storage option you will get 5GB of storage space which may be enough depending on how many photos or videos you take or how many documents you have stored in your account.
Microsoft OneDrive is excellent because it saves multiple versions of each file that you upload. For example if there’s an error in a document and you need to edit it, then go back to the original version that was uploaded – then Microsoft OneDrive will show both versions of the document so that you can choose whichever one is correct. What about Google Drive? Google Drive offers 50 GB for free and $9/month for 1TB. It does not save multiple versions but it does have some interesting features like auto-save where changes are automatically saved as they are made instead of relying on users to do this manually.
Finally, let me know how it went for you.
I am not sure if this is the correct place to post this, but I’m running into some issues. I recently purchased a new laptop and want to transfer my information from the old laptop to the new one. I have used the File History app on both laptops, but it has been unsuccessful in transferring all of my files and folders. What do you think might be going wrong? Is there anything that I can do to ensure that the process is successful?